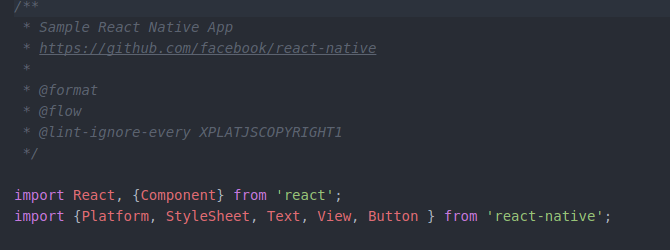
As a best practice when you start a react native project you could take into consideration using a static type checker. We will start talking about flow and how we can use it with react native.
If you don’t know what is flow, I encourage you to take a look at the docs, but as a general idea flow is a static type checker for JavaScript. For react on the other hand we can use PropTypes witch is already into react.
Flow or PropTypes ?
Well with PropTypes you can add rules just for the component props and can give you warnings, which is a good way to find bad code and fix it, on the other hand, Flow is allowing you to add a type annotation to all of your code and catch all the bugs at compile time.

Flow with react native
Let’s start by adding flow to react-native. If you start a fresh project with react-native initApp.js

You will find also a .flowconfig.eslintrc.flowconfigflow-binyarn add flow-bin@0.86.flowconfigflow-bin.flowconfig

Now after we added flow package we need to do some changes in package.json
"scripts": {
    "start": "node node_modules/react-native/local-cli/cli.js start",
    "test": "jest",
    "flow": "flow"
  },
You can run with: yarn run flow npm run flow

Now you have flow installed, don’t forget to add @flow
